

This is what our living room looked like six years ago when we bought our house. This and the kitchen (through that doorway) are the main living areas of our relatively small home. Both rooms were given immediate attention. The green carpet was pulled up. Everything was painted. The kitchen was completely transformed.
Eventually we made our way to this:


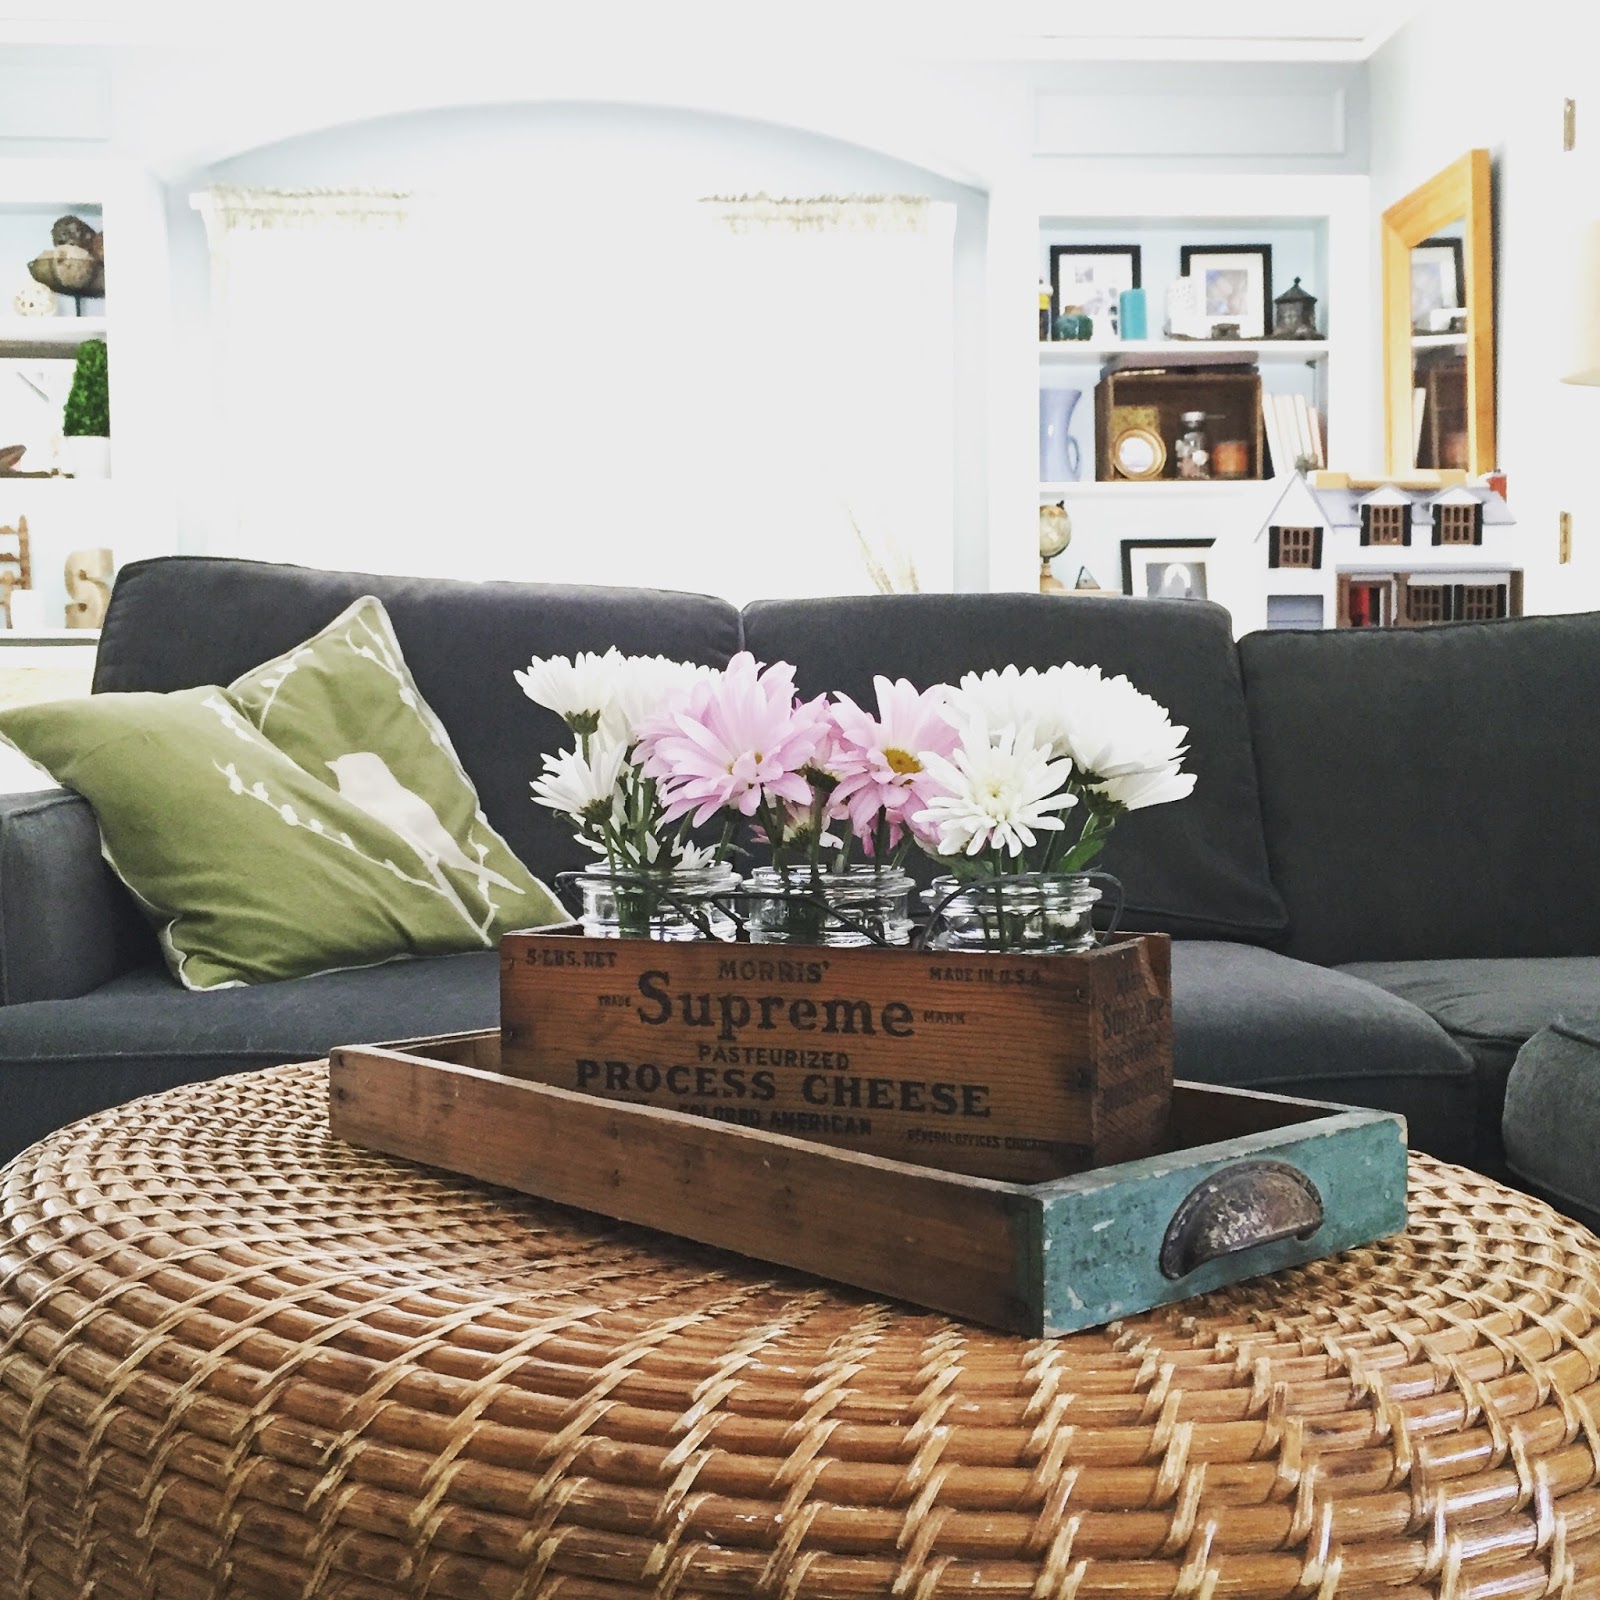
It's not big or fancy, but I love the feeling this room brings me. The things in it have been carefully selected over the years. A few pieces were purchased new but most were hard won at flea markets, yard sales and thrift stores.


The pictures above are images I've shared on my Instagram feed over the last year or so. As you can see, there aren't any of the side of the room with the fireplace. That wasn't an accident! I've never been happy with that side of the room for a few reasons. One being the huge flat screen tv over the mantel. Sadly, even though we do not watch much tv we can't really live without it (well we could but we aren't going to). In my next house the tv will be sneakily hidden somehow but for now it's there and it's not going away. The other reason is that I have always hated the outdated reddish tile and brick. I generally love brick, but this brick just didn't do much for me. It didn't have any character.
So earlier this year (and by earlier I mean January), I decided I was finally going to do something about it. Ten months later it's finally done!
As usual, I was terrible at taking detailed before shots and now I'm kicking myself. But here is what the brick and tile looked like for the last few years:

I should also add that we never use our fireplace. Like ever. We did a few times pre-kids and it was nice but post-kids it hasn't happened. For lack of a better explanation, ain't nobody got time for that! It sort of happened gradually. First the fireplace tools were basically a death trap with toddlers around. Then the screen just kept getting knocked over. For a while we actually put the dog bed in there with a gate around it to give the dog some space. Eventually, we were left with the sad sight you see above.
So my goal was to make this side of the room aesthetically pleasing without breaking the bank. I didn't care too much about keeping the fireplace functional but didn't want to do anything permanent since I could see us using it again in the future. I did think about tiling over the brick and replacing the hearth tiles but even that was more construction and commitment than I was ready for.
Here is a (way) before and after of the end result:

This project is a testament to how powerful paint can be. The whole mantel was painted white ages ago when we first moved in. The wall color (Behr Sage Gray) was also done at that time and I love it just as much now as I did then. I've always been a huge fan of gray and will be long after it's no longer trendy. The recent changes were also done mostly with paint and a little scrap wood.
First, I white washed the brick with some watered down white paint.

I liked it better but wasn't totally in love. Eventually I ended up putting undiluted white paint onto the brick and covering it a bit more. I just used the same paint color as the trim/mantel (Behr Polar Bear White).
Painting the hearth tiles was a bit of a leap of faith but I'm so happy with how it turned out. I was inspired to do it by this by a blogger I follow. Mysha from www.remingtonavenue.com painted the tile in her home and the results were amazing! Here is her tutorial which is definitely worth checking out.
Like Mysha, I used a few different colors of chalk paint and a repeating pattern. I will lay out all those details in a follow up post. It's fair to say it was a tedious process since a lot of my design was done by hand but I actually really enjoyed doing it. Most of it was done a little bit at a time while sipping wine after the kids went to bed when I would have just been watching tv anyway.

The other big change I made was the logs in the fireplace. I absolutely LOVE this look and have wanted to do it for a while. What I didn't want was to semi-permanently load up our fireplace with a hundred+ pieces of wood that would need to be removed individually in order to use the fireplace (or would be removed by my three year old who greatly enjoys dismantling just about anything). So I came up with the idea to achieve the same look but by using an insert that can be removed easily. All of these pieces of wood are just 1-2 inch thick rings mounted to a piece of plywood painted black.

A big shout out to my dad for cutting all the rings for me after a failed attempt at using a mitre saw to do it myself resulted in a minor injury that could have been a lot worse.
While this project did get dragged out for most of the year, I'm really happy with the results. Even though the tv is still there, this whole side of the room looks so much better to me now. The biggest investment was the time I spent pulling the materials together, deciding on a pattern for the tile and then actually painting the tile. I spent very little money on the project. Chalk paint is relatively expensive compared to other types of paint, but in the grand scheme of things it was a very budget friendly project that made a big impact.
Never underestimate what paint and some scrap wood can do!

Fireplace screens can range from the standard spark arrestor curtains to large, pivoting, ornate decorative braces. The dual blocking of both popping sap inside a wood burning fireplace and curious pets and children outside a wood or gas log fireplace coupled with the decorative attraction of fire-screens makes them a popular fireplace accessory doors for fireplaces are made of steel.
ReplyDeleteThe blog outlines how hard the writer has tackled this.
ReplyDeletedie beste powerbank